
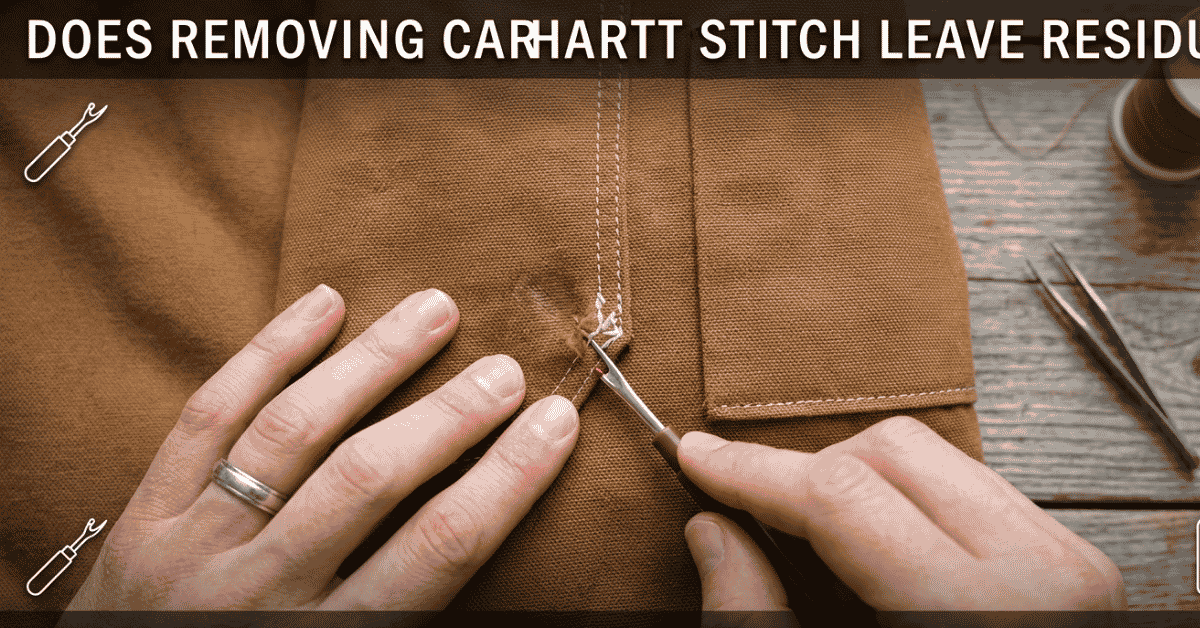
Does removing the Carhartt stitch leave behind residue or damage? Learn what really happens, what to expect, and how to remove it cleanly.
I first faced this issue when I bought a work jacket at a thrift shop. The fit was great. The color was perfect. The logo patch was not my style. Before touching a seam ripper, I had one big question: does removing the Carhartt stitch leave behind residue? After trying it myself and helping friends with similar projects, I learned that the answer depends on several factors.
Does Removing the Carhartt Stitch Leave Behind Residue?
Sometimes, yes.
In many cases, removing the Carhartt stitch does not leave sticky residue. However, it may leave other signs behind.
These can include:
- Stitch holes
- Fabric marks
- Color differences
- Faint outlines
- Adhesive traces on some patches
From my experience, residue is less common than visible stitch marks.
The bigger concern is often the fabric underneath.
Why Do People Remove Carhartt Stitching?
There are several reasons.
Not everyone removes stitching for the same purpose.
Personal Style
Some people prefer a cleaner look.
They want:
- Plain jackets
- Minimal branding
- Simple designs
I understand this completely.
A clean garment often feels more versatile.
Custom Projects
Many people customize clothing.
They may add:
- New patches
- Company logos
- Personal branding
Removing old stitching is often the first step.
Repair Work
Sometimes the original patch becomes damaged.
In these cases, removal is necessary before repair.
Upcycling Clothing
I enjoy restoring used clothing.
Older garments often look fresh again after careful patch removal.
What Happens After Removing Carhartt Stitching?
This depends on how the logo was attached.
Different garments produce different results.
Stitch Holes May Remain
This is the most common outcome.
Tiny needle holes can remain visible.
Factors include:
- Fabric type
- Stitch size
- Garment age
On older jackets, the holes may be more noticeable.
Fabric Shadowing
I have seen this many times.
The covered area may appear darker.
This happens because the surrounding fabric faded over time.
The patch protected the fabric underneath.
Slight Texture Differences
Some materials compress under patches.
After removal, the fabric may feel different.
This usually improves with washing.
Adhesive Residue
Some patches use glue in addition to stitching.
In these cases, residue can remain.
It may appear as:
- Sticky spots
- Stiff fabric
- Patch outlines
Fortunately, this is often removable.
What Determines Whether Residue Appears?
Several factors influence the outcome.
Patch Type
Not all Carhartt patches are attached the same way.
Some use:
- Stitching only
- Adhesive only
- Both methods
Adhesive-backed patches are more likely to leave residue.
Age of the Garment
Older clothing behaves differently.
Years of wear can create:
- Fading
- Fabric stress
- Permanent outlines
Older garments often show more evidence after removal.
Fabric Material
Material matters greatly.
Common examples include:
- Canvas
- Cotton
- Duck fabric
- Blended fabrics
Heavy fabrics usually hide stitch marks better.
Removal Method
The removal process affects results.
Careful removal reduces the chance of damage.
Rushed removal often creates problems.
Common Results by Fabric Type
Different materials respond differently.
| Fabric Type | Stitch Holes | Residue Risk | Visible Outline |
|---|---|---|---|
| Heavy Canvas | Low | Low | Medium |
| Duck Fabric | Low | Low | Medium |
| Cotton Blend | Medium | Medium | Medium |
| Soft Cotton | High | Medium | High |
| Lightweight Fabric | High | Medium | High |
This reflects what I have personally observed over time.
How to Remove Carhartt Stitching Properly
A careful approach helps produce better results.
Use a Seam Ripper
This is my preferred tool.
Benefits include:
- Precision
- Control
- Reduced fabric damage
Work slowly.
There is no prize for speed.
Remove Threads From the Back
I often start inside the garment.
This helps protect visible fabric surfaces.
The process feels cleaner and safer.
Pull Threads Gently
Avoid yanking threads.
Aggressive pulling can:
- Stretch fabric
- Create tears
- Worsen stitch holes
Patience pays off.
Inspect Frequently
Stop every few minutes.
Check for:
- Remaining threads
- Fabric stress
- Hidden adhesive
Small checks prevent bigger problems.
How to Remove Adhesive Residue
If residue appears, do not panic.
Most cases are manageable.
Warm Water and Mild Soap
I start with the gentlest option.
Often this removes:
- Dirt
- Light adhesive
- Surface residue
Simple solutions work surprisingly well.
Fabric-Safe Adhesive Removers
For stubborn residue, specialty products may help.
Always test first.
Use a hidden area before treating visible fabric.
Soft Brushing
A soft brush can loosen residue.
Avoid stiff brushes.
Harsh scrubbing may damage fibers.
Washing the Garment
Many fabrics improve after washing.
A wash cycle often reduces:
- Patch outlines
- Surface marks
- Fabric compression
The garment usually looks better afterward.
Mistakes to Avoid
I learned some of these lessons the hard way.
Pulling the Patch Off
Never rip the patch away forcefully.
This can:
- Damage fabric
- Stretch fibers
- Leave visible scars
Slow removal is safer.
Using Sharp Knives
A seam ripper is much safer.
Knives increase the risk of cuts and fabric damage.
Ignoring Adhesive
Some people focus only on stitching.
Hidden adhesive can remain behind.
Always inspect carefully.
Expecting Perfect Results
This is important.
Some garments show signs after patch removal.
That is normal.
The goal is improvement, not perfection.
Tips From My Experience
After removing many patches, I developed a few habits.
Work Under Bright Light
Good lighting reveals hidden stitches.
This reduces mistakes.
Take Before-and-After Photos
Photos help track progress.
They also reveal improvements that are easy to miss.
Steam the Fabric
A garment steamer often helps relax fibers.
This can reduce visible stitch marks.
Wash Before Judging Results
The garment may look different after cleaning.
I always wait until after washing before making a final assessment.
When Signs May Never Fully Disappear
Some garments permanently show evidence of a patch.
This is more likely when:
- The garment is old
- The patch was large
- The fabric faded heavily
- Adhesive was used
Even then, the results can still look good.
Many people actually enjoy the worn, lived-in appearance.
My Experience Removing Carhartt Stitching
Most removals have gone smoothly.
The biggest surprise was not residue. It was fabric fading. The area beneath the patch often looked newer than the surrounding material.
When adhesive residue did appear, careful cleaning usually solved the problem. The key was patience.
If someone asks me today, “does removing the Carhartt stitch leave behind residue?” my answer is simple: sometimes, but visible stitch marks and color differences are often more noticeable than actual residue.
FAQs
Does removing the Carhartt stitch leave behind residue every time?
No. Many Carhartt patches use stitching only. Residue is more likely when adhesive was also used during attachment. Learn more about patch removal.
Does removing the Carhartt stitch leave behind holes?
Small stitch holes can remain after removal, especially on older garments. These often become less visible over time. Learn more about fabric recovery.
Can adhesive residue from a Carhartt patch be removed?
Yes. Mild soap, fabric-safe adhesive removers, and washing can often reduce or eliminate residue. Learn more about garment care.
Will removing a Carhartt logo damage the fabric?
Careful removal usually prevents damage. Using a seam ripper and working slowly helps protect the garment. Learn more about safe patch removal.
Why is there a patch outline after removal?
The fabric beneath the patch may have faded less than surrounding areas. This color difference can create a visible outline. Learn more about fabric aging.