
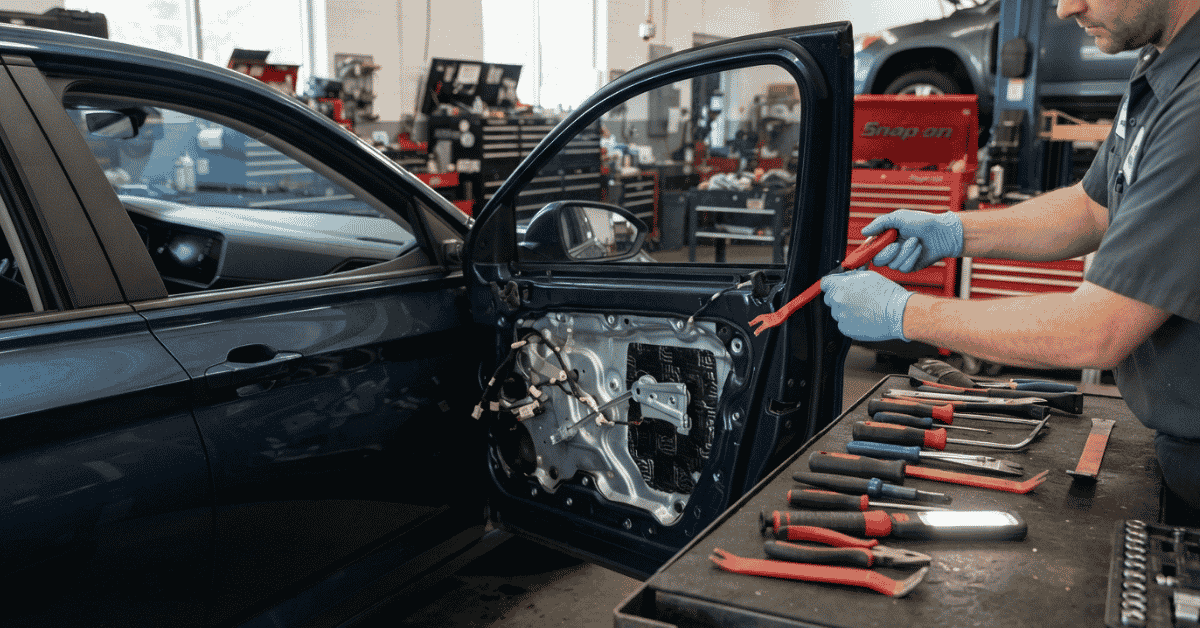
Car Door Tools help fix trim, clips, and hinges with less fuss. Learn safe steps, pick the right gear, and fix small door jobs with ease.
Car Door Tools can save time on small car door jobs. I learned that the hard way. My first trim fix left a deep mark near the latch. Not fun. The right gear makes a big change. This guide shows the tools and safe steps I now use. Grab your kit and let’s get to it.
Are Car Door Tools really worth it?
Car Door Tools help with door trim, clips, hinges, seals, and latch parts. Each tool has a set job. A trim tool can lift clips with less force. A socket set can help take off bolts. A good kit can cut down on slips and bent parts. Cheap gear can work, but it may crack fast.
What You Need Before You Start
Start with a clean, dry work spot. Park on flat ground. Turn the car off. Keep the key in a safe spot. A trim tool set, socket set, pliers, and tape cover many jobs. A small light helps too. Check the car guide first. Take a photo before each part comes off.
How to Use Car Door Tools: Step by Step
Step 1: Check the door first
Look at the door from top to base. Test the handle, latch, glass, and lock by normal use. Do not force a stuck part. Listen for a click, scrape, or dull thud. These sounds can hint at a loose clip or worn part. I once skipped this check. I spent an hour on the wrong fix.
Step 2: Cover the paint
Place clean tape near the trim edge. Use soft cloth under your hand. This helps stop tool marks. Keep metal tips off paint when you can. A thin trim tool works best for most clip jobs. Slip it in with care. Do not twist hard. A slow pull saves paint.
Step 3: Lift the trim with a trim tool
Find the edge of the trim panel. Slide the tool near a clip. Press in, then lift with light force. Work one clip at a time. Keep the tool flat. A sharp pop means a clip came free. If the panel bends, stop and check for a hidden screw.
Step 4: Remove bolts with the right socket
Match the socket to the bolt head. Keep it square on the bolt. Turn slow at first. A loose bolt may break free with a soft snap. Keep each bolt in a small tray. Sort them by spot. Mixed bolts can lead to a bad fit later. Never use a near-fit socket.
Step 5: Check clips, seals, and wires
Set the panel on a clean cloth. Look at each clip for cracks. Check the door seal for tears or gaps. Look at wire plugs for bent pins. Do not yank a wire. Press the tab that holds the plug. Keep clips in a small cup. One lost clip can mean a parts run.
Step 6: Fix the part and put it back
Fit the new or fixed part in the same spot. Use the old part as your guide. Set each clip in line before you press. Refit bolts by hand first. Then use the socket. Test the door before the trim goes back. This lets you fix a loose part with less work.
Step 7: Test the door with care
Open and shut the door a few times. Check the handle, glass, seal, and latch. Look for gaps in the trim. Listen for new clicks or rattles. The door should move with the same feel as before. A part that feels wrong may need a pro check.
Maintenance & Next Steps
Clean each tool after use. Wipe off dust, oil, and grit. Store small bits in a box. Keep trim tools away from heat. Check pliers and sockets for cracks. I also keep spare clips in my kit. They cost little. They can save a long trip to a shop.
| Tool | Check | Best time |
|---|---|---|
| Trim tools | Cracks and bends | Each use |
| Socket set | Rust and wear | Each month |
| Pliers | Grip and joint | Each month |
| Spare clips | Fit and size | As needed |
Expected Results & Timeline
Small trim jobs can take 20 to 60 minutes. A hinge or seal job may take longer. The key sign is a clean fit. The door should open and shut with no odd rub. Trim should sit flat. No clip should stick out. Take a short test drive only after the door works well. I like to check the door again the next day. A new rattle can show up after the first drive.
Common Mistakes to Avoid
- Using a flat knife can mark trim. Use a trim tool instead.
- Pulling a panel too fast can snap clips. Go slow.
- Using the wrong socket can round a bolt. Match it first.
- Mixing old and new clips can cause poor fit. Sort them.
- Skipping a test can hide a bad fix. Test each part.
Safety & Precautions
Keep hands clear of pinch spots. Wear eye gear for clip or bolt work. Do not work near a hot car. Keep loose wires from sharp edges. Never force a lock or latch. Lock work can harm the car. Use a pro for hard lock faults.
FAQs about Car Door Tools
Which Car Door Tools should I buy first?
Start with trim tools, a basic socket set, pliers, and a small light. Add spare clips and soft tape too. That kit can cover many home door fixes with ease.
Can Car Door Tools fix a loose door panel?
Yes, many loose panels need new clips or tight bolts. Use a trim tool to lift the panel. Check each clip, then fit the panel back with even force.
Are metal trim tools safe for car paint?
Metal tools can mark paint if used with force. Plastic trim tools are safer for most jobs. Use tape and a soft cloth near each work area too.
How do I keep Car Door Tools in good shape?
Wipe tools after each job. Keep them dry and free from grit. Store small parts in a box. Toss any tool that has a crack or sharp bend at once.
Can I use Car Door Tools for lock repair?
Some tools can help with lock parts after the door is open. Do not use them to bypass a lock. A pro can fix lock faults with less risk and harm.
Final Takeaway
The best Car Door Tools are not hard to use. The trick is to use the right tool for each job. Go slow. Keep each part in order. Protect the paint. Test the door before you call the job done. My own bad trim job taught me that lesson fast. A small kit can handle many light fixes. For lock faults or deep door issues, call a pro.